MIP Accounting Workstation Install
This section describes the workstation install. There are two ways to access this install:
- If you selected the Install MIP Workstation check box at the end of the Server Install, the system automatically launches the Welcome panel of the MIP Accounting Workstation install.
- If you are installing the workstation only, go to the workstation machine and log on as a user with local administrator rights. Navigate to the MIP Share directory (\\MIP Share) on the Server, open the Setup sub directory, and select Setup.exe.
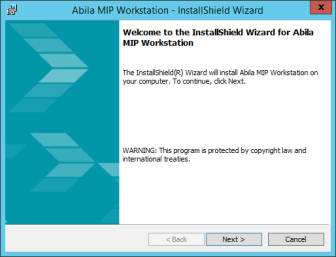
- The Abila MIP Accounting Workstation install Welcome panel displays.
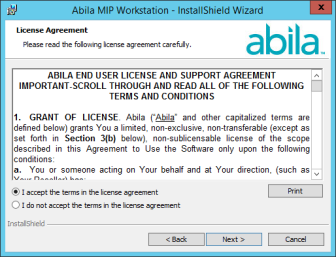
- Click Next. Review the End User License Agreement and select the “I accept the terms in the license agreement” option.
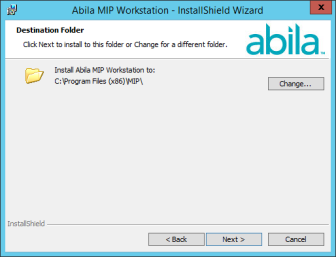
- Click Next. Accept the default MIP destination folder (recommended), or use the Change button to navigate to a different location.
- Click Next. The Custom Setup panel displays, which allows you to select the systems you would like to install. By default, the system installs the start menu shortcuts and program files for all systems, even if they are not part of the license.
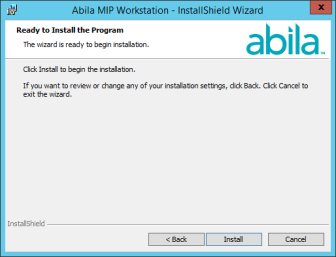
- Click Next. The Install Wizard is ready to install the program.
- Click Install to begin the installation, or click Back to make changes to your installation settings.
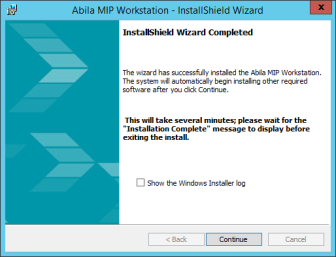
- Proceed through the MIP Accounting Workstation setup. This process may take several minutes. The InstallShield Wizard Completed panel displays.
- Click Continue to complete the Workstation Install.
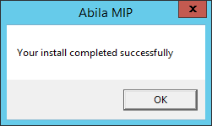
- Additional installs launch after you click Continue to complete the Workstation Install. Allow any additional installs to complete, and then click OK on the “Your install completed successfully” window message.
- This is the final window of the workstation installation. It verifies that the MIP Accounting Workstation installed successfully.
- Optional, install Alerts on your IIS Web Server. For more information, see Alerts Install
- If applicable, click the Exit button on the MIP Accounting Installation Setup form.
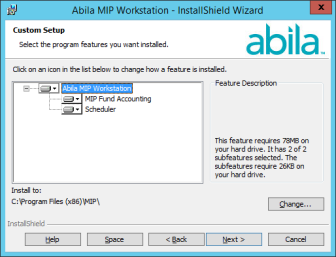
To prevent a system from being installed, ensure that the “X” (Entire feature will be unavailable) is selected. This designation prevents the installation of the program files and the start menu shortcuts for that system. You may find this useful when you need to restrict a user from launching a specific system.
Note: If you do not install all systems now, but later decide you want to install the program files or start menu shortcuts, you can do so using Start>Settings>Control Panel>Add or Remove Programs. Select MIP Workstation and the Change button. The system displays the Welcome panel of the Install wizard. Click Next. Then, on the Program Maintenance panel, select the Modify option button, followed by the Next button.
At the end of the Workstation install, reboot your computer only if prompted to do so.
Note: Remember, a workstation installation must be performed on each workstation that needs to run MIP Accounting.
Troubleshooting
You may not be able to install because of an error from the "Windows Installer Coordinator". The Windows Installer Coordinator may get stuck or fail during an install or update.
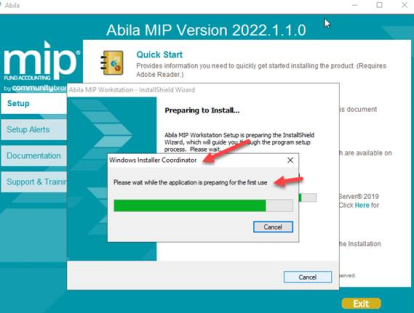
If this Windows Installer Coordinator error appears, you must disable the Windows Installer RDS compatibility.
-
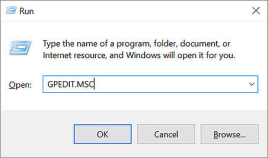
Open the Windows "Run" function by pressing the Windows key + R, or typing "run" into the Windows search bar.
-
Run "GPEDIT.MSC".
-
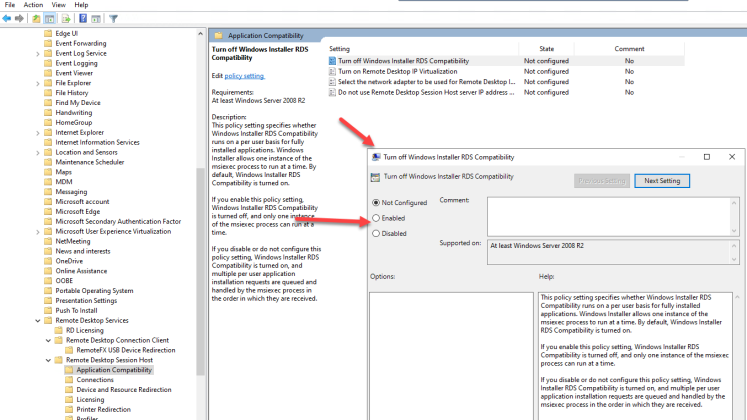
The Local Group Policy Editor will display. Open the "Administrative Templates" subfolder located under the "Computer Configuration" heading.
-
Open the "Windows Components" folder.
-
Open the "Remote Desktop Services" folder.
-
Open the "Remote Desktop Session Host" folder.
-
Open the "Application Compatibility" folder.
-
Select "Turn off Windows installer RDS compatibility" by double clicking.
-
Set this feature to "Enabled".
-
Proceed with the MIP installation.