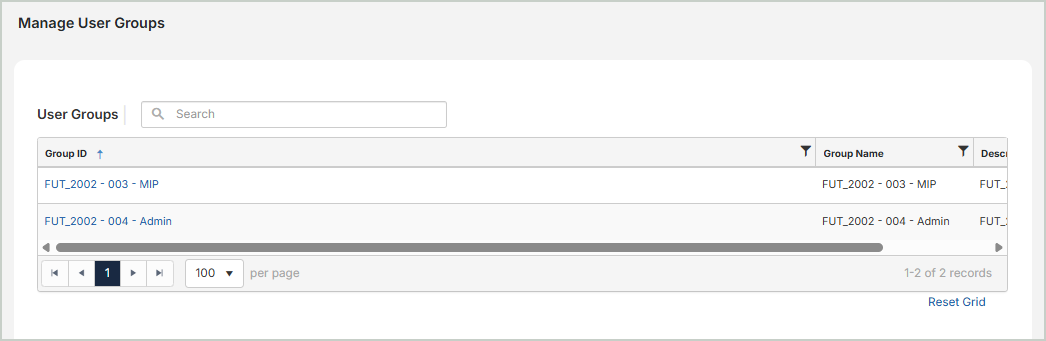
Manage User Groups
Use the Manage User Groups section to view and edit the user group settings set up for your organization.
Note: Users Groups cannot be created within MIP. To create a User Group, sign in to the MIP User Portal and select Users & Groups.
Select a tab below to learn more about each setting.
- User Group Rights
- Assigned Users
- Account Level Security
Use the User Group Rights tab to set rights for each user group at the module level for your organization.

Expand a module to access the module level user group settings.
-
Set the permissions (view, edit, delete, etc.) for each individual module function by selecting the checkboxes for each.
-
Grant All Rights: Select to grant all rights for that module to the user group.
-
Revoke All Rights: Select to revoke all rights for that module for the user group.
Copy: Select to copy the rights from one user group to the selected user group.
Once you're finished with your edits, Save your changes.
Use the Assigned Users tab to view a list of all users that have been added to the user group. Users can be added or removed from a user group through the MIP User Portal under User & Groups.

Use the Account Level Security tab to set user rights on the group level for all users in this user group.
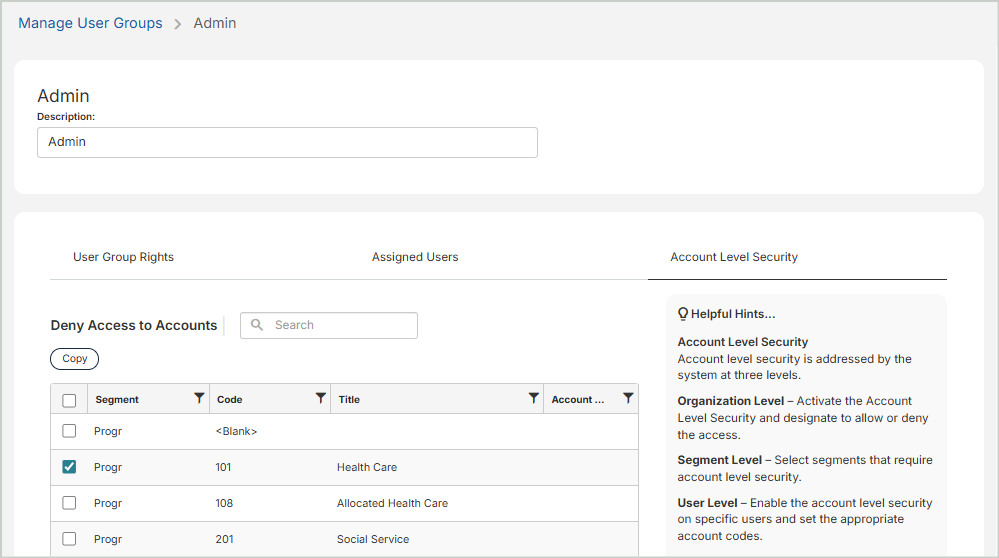
Copy: Use this option to copy account security settings from another user group to the selected group.
Allow /Deny Access to Accounts
Segment: All account segments for the active organization
Code: The account code number
Title: The name or title of the account code
Account Type: Indicates the type of account, such as CSH (Cash) or ARO (Accounts Receivable)
Once you're finished with your edits, Save your changes.