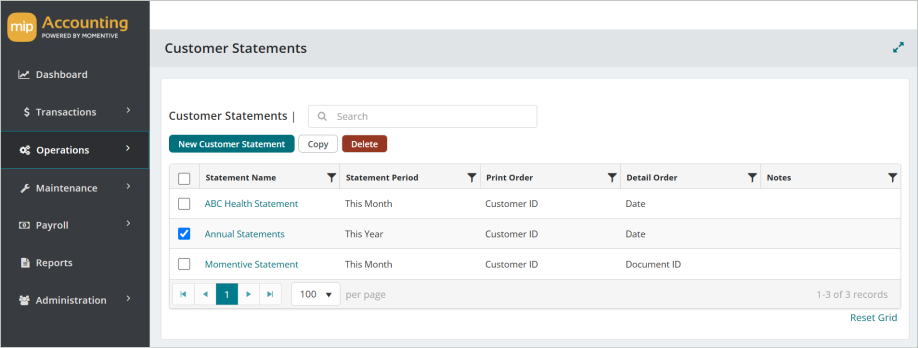
Customer Statements
Print or email a summary of customer activity for a specific time period. Customers can use this statement to verify account activity or remind them of outstanding balances.
Learn how to Add / Edit Customer Statements.
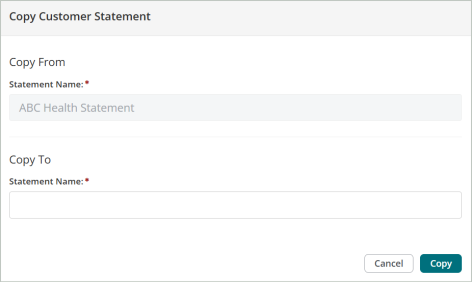
Copy Customer Statements
You can create an exact duplicate of an existing customer statement. Simply select the statement name to copy from and enter a new name to copy to. Once you select Copy, you'll see your new statement in the grid.
Delete Customer Statements
Before deleting a record, ensure you’ve selected the correct record you want to remove from the system. Deletion is permanent and cannot be undone.
