Print/Email Invoices
Print and/or email the calculated invoice for each customer within the selected billing group. You can also reprint and resend emails with historical invoices.
-
Make sure the customer is set up to receive invoices by going to their Customer Record. Check the Email tab and ensure that the "Email Invoices" checkbox is selected.
-
For help setting up email capabilities in MIP Cloud, see Email Setup.
Choose whether to:
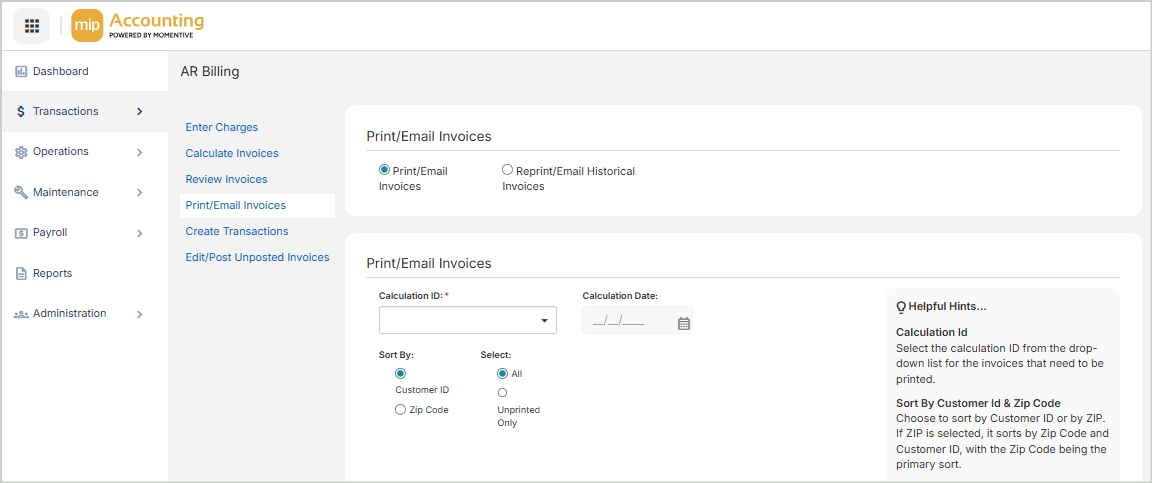
Print/Email Invoices
Select this option to print and/or email a new invoice.
Calculation ID: Select the calculation ID for the invoices that need to be printed.
Calculation Date: This is the date entered on the Calculate Invoices tab when the calculation was made.
Sort By Customer ID, Zip Code: Choose how to sort the Calculation ID drop-down list. If you choose ZIP, the list will be sorted with the customer ZIP code as the primary sort.
Select All, Unprinted Only Select "All" to print all invoices, or "Unprinted Only" to print unprinted invoices only.
Total Charges
Use this grid to review the charges for this invoice. To edit a charge, go to the Review Invoices section.
Print/Email
-
Select the Calculation ID, the sort option, and whether to print all the invoices or only the unprinted invoices.
-
Select Print/Email.
-
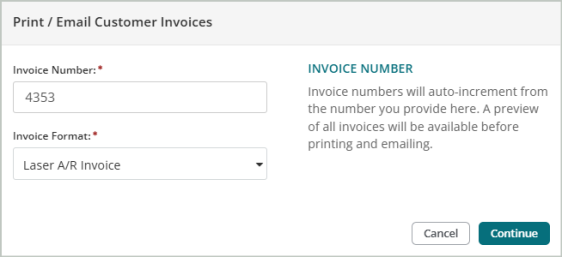
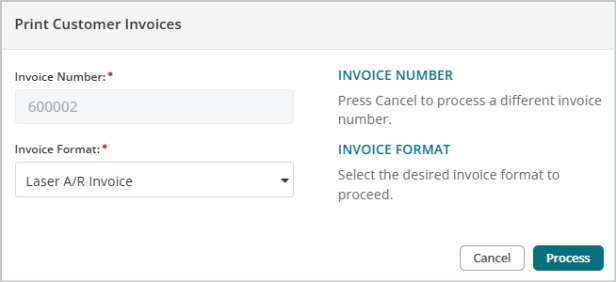
In the dialog, enter an invoice number and select an invoice format.
-
In the next dialog, select the customers to generate invoices for.
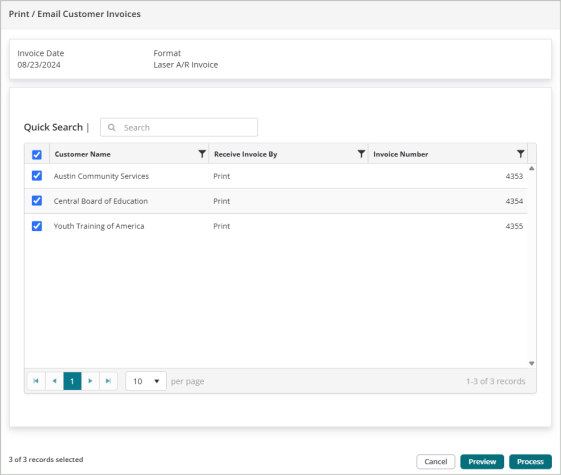
Note: The "Receive Invoice By" field in the table indicates how the invoice will be processed. If you set the customer up to receive emails, the system will default to Print And Email. To set up emailed invoices for a customer, go to the Email tab of their Customer Record and select the "Email Invoices" checkbox.
-
Select Preview to see a preview of the invoice, or Process to continue.
-
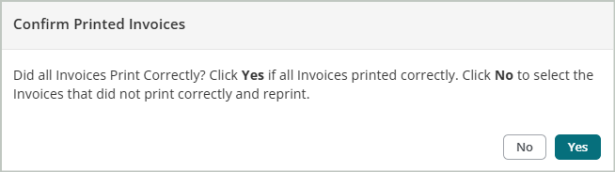
The system will generate the invoices on a new tab. Review the invoices to ensure everything is correct. If you are ready to print and/or email the invoices, select Yes.
Reprint/Email Historical Invoices
Select this option to print and/or email a historical invoice.
-
You can't make any changes to the invoice.
-
You can reprint/email a historical invoice as many times as you like.
-
Reprinting does not generate any additional accounting entries.
Customer ID: The customer's ID
Invoice Number: The invoice number
Shipping Address: The customer's shipping address as entered in their Customer Record
Invoice Date: The date the invoice was originally processed
Comments: Any comments added to the original invoice will display here.
Customer Invoicing Preferences: The customer's invoicing preferences will display here. This information was entered on the Email tab of their Customer Record
Print/Email
Choose whether to Print or Email the historical invoice.
Note: The "Print" option will display a preview of the invoice, while the "Email" option immediately emails the invoice. If you need to preview the invoice, select "Print" first.
Note: Creating a calculation ID and printing invoices has no accounting consequence. No accounting entries will be made until the next step, "Create Transactions".