Tax Forms & eFiling by Aatrix
MIP Modern integrates with Aatrix Web Forms, a software platform that streamlines the preparation and filing of tax documents. Use this form to specify the details needed to generate W-2s, W-3s, and 1094/1095 forms for your employees and the IRS. Then use Aatrix to eFile your forms for a fee. Watch our video overview of the Aatrix workflow.
Aatrix's Complete eFiling Service for W-2s will:
-
Print and Mail Employee Copies
-
File your Federal W-2s and W-3s to the SSA
-
File your State W-2s and Reconciliation Forms
Note: If your organization uses Aatrix in Classic and would like to switch to Modern, you can continue using the same Aatrix eFile account. However, form data does not transfer between Classic and Modern. Forms started in Classic must be completed in Classic, and forms started in Modern must be completed in Modern.
How to Get Started with Aatrix
Before using Aatrix, you'll need to enroll and properly set up your organization & employee settings in MIP.
-
Verify Federal Tax Information in MIP
-
Navigate to Administration > Organization Settings > Information
-
Ensure that the Federal Tax Identification Number is correct, as it will be used on all forms.
-
-
Enroll your organization in Aatrix
-
If your organization uses Aatrix in Classic and would like to switch to Modern, you can continue using the same Aatrix eFile account.
-
If you haven't enrolled yet, go to efile.aatrix.com and select Enroll at the top of the page.
-
When enrolling, ensure that the EIN you enter on the form matches your Taxpayer Identification Number (TIN) in MIP from step 1 above.
-
-
Set up your employees to receive notifications when their tax forms are available
-
Navigate to Maintenance > Payroll > Employee Information > Employee Profile
-
Taxes tab - Employee's W-2 section:
-
For W-2s - Confirm the Issue Employee W-2 electronically using Aatrix checkbox is selected.
-
For 1095s - Confirm the Issue Electronic 1095 checkbox is selected.
-
-
Note: Your data is designed to print on plain paper and government mandated plain perforated paper. These forms are available online.
Select the Form to Generate
In order to launch the Aatrix workflow, you’ll need to select a few key options in MIP. These choices determine which data is sent to Aatrix and how your forms will be generated.

-
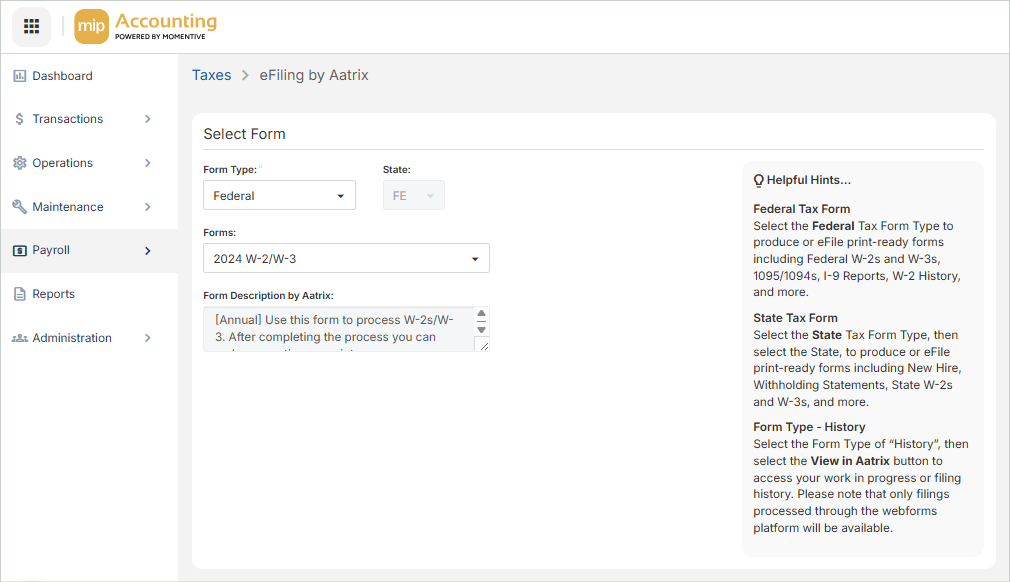
Select your Form Type
-
Federal or State - If you haven’t filed yet for the current year, select which form to produce - either Federal or State. This will create a new form that pulls in your most recent data from MIP. If you've already started your filing but you need to refresh your accounting data since the last time you used Aatrix, select either form type here to start new.
-
History - Select History to open an existing work-in-progress. This is useful if you’ve already started your filing and want to pick up where you left off.
-
-
Select your State
-
If you choose the State form type above, select the abbreviated state.
-
-
Choose your Form
-
Select the tax form you want to generate.
-
Enter Employee Details & Date Range
Use this section to designate employee payroll hour calculations and select the relevant date range for processing.
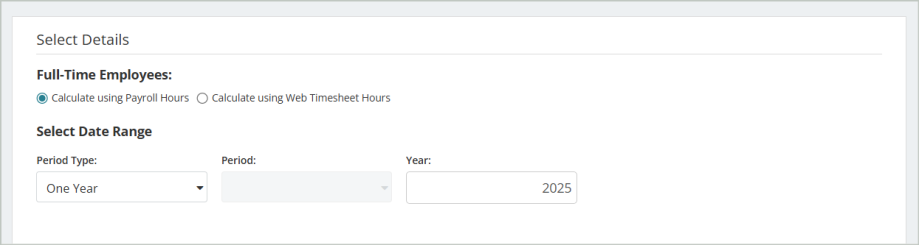
Full-Time Employees
The Full-time Employees option is only available if you’ve selected a Federal form type and either a 1095/1094-C or 1095/1094-B form.
-
If your organization owns the Payroll module, accept the default option Calculate using Payroll Hours (requires the Payroll module).
-
If your organization owns the HR and/or EWS modules and uses Web Timesheets, select Calculate using Web Timesheet Hours instead.
Select Date Range
Depending on the form type you've selected, select the relevant date range for processing.
Period Type: Select the period type, such as One Year, One Quarter, or Date Range.
Period: Select a period, such as the 1st Quarter or January.
Year: Enter a year or accept the current year default.
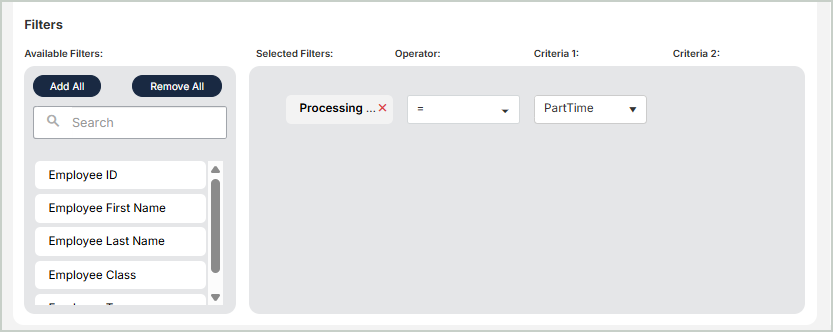
Apply Filters
Optionally, you can apply filters to limit which items are included in Aatrix. These choices will also determine which data is sent to Aatrix and how your forms will be generated.
Operators
When filtering data, select an operator and enter criteria to determine which data to display.
| Operator | Definition |
|---|---|
| Equal to (=) | Include the data equal to the value in Criteria 1. For example, if "Status" is the Selected Filter and "A (Active)" is the Criteria 1, then include all data with a Status of Active in the report. |
| Not Equal to (< >) | Include the data not equal to the value in Criteria 1. |
| Greater Than (>) | Include the data that is greater than the value in Criteria 1. |
| Less Than (<) | Include the data that is less than the value in Criteria 1. |
| Between | Include the data that is between Criteria 1 and Criteria 2. To display a range of dates, numbers, or currency fields, use the Between and Not Between operators. |
| Not Between | Include the data that is not between Criteria 1 and Criteria 2. |
| Like | Include the data that matches the value in Criteria 1. For instance, there are ten Vendors with the word Office as part of their Vendor ID (Office Max, Office Depot, Office Machines, etc.). You want to send them your change of address card, so you run a report that includes their addresses. Select Vendor ID as the Selected Filter, Like as the Operator, and enter "%office%" in Criteria 1. You cannot use this operator for dates, numbers, or currency fields. |
| Not Like | Include the data that does not match the value in Criteria 1. For instance, you want to run a report that excludes all Vendors with the word Office at the beginning of their Vendor ID. You would need to select Vendor ID as the Selected Filter, Not Like as the Operator, and enter "Office%" in Criteria 1. You cannot use this operator for dates, numbers, or currency fields. |
| In | Include the data that is equal to the values in Criteria 1. This allows you to include a non-sequential series of values in filter criteria. For example, type 123, 498, 301 in Criteria 1. (Do not use the drop-down list and make sure you type commas between the series.) The system then includes only those three values in your data. |
Criteria 1
Enter or select a value to compare with the item in the Selected Filter column. When using Like or Not Like, use "%" to represent any number of characters. For example, you want results showing the Accounts Receivable offset account assignments. Since you only want information on AR accounts and they all begin with "AR," you would complete the criteria as follows:
- Selected Filter: Transaction Source
- Operator: Like
- Criteria 1: AR%
This filter limits the results to only transaction source codes that begin with AR, while the rest of the code could have any characters.
Please note the results if you choose the Like operator and the following criteria:
| Criteria | Result |
| %AR% | Returns data with "AR" in any position |
| AR% | Returns data that begins with "AR" |
| %AR | Returns data that ends with "AR" |
Criteria 2
Enter or select a value for the end of a range if the Operator contains Between or Not Between.
Note: If you keep track of several different companies in one database and each company has a different EIN number, you can file your W-2s under the appropriate EIN. To make this process easier, you can apply filters to narrow the employee list to only those that should file under a specific EIN. See KB Article 1271 for step-by-step instructions.
View in Aatrix
Once you've entered your tax form details above, select View in Aatrix. MIP sends the data you entered above to Aatrix, where you can complete, review, and eFile your forms.
Aatrix Steps (W-2 example):
2 - Review Company Information
3 - Add / Edit State & Local Tax Items
6 - Choose Whether to Truncate Employee SSNs
7 - Aatrix Preparer Grid - Review Data & Correct Errors
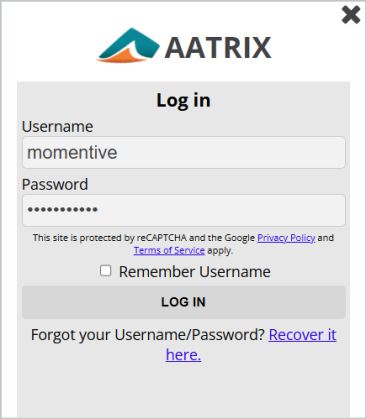
1 - Login
Enter your Username and Password. If your organization does not have an Aatrix account yet, see above for to Tax Forms & eFiling by Aatrix.
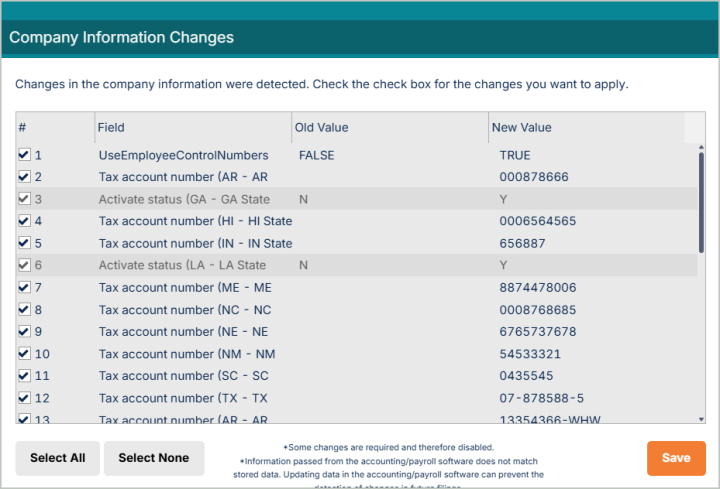
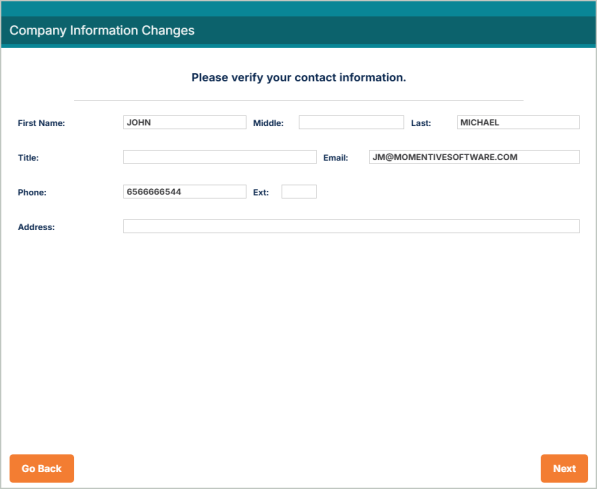
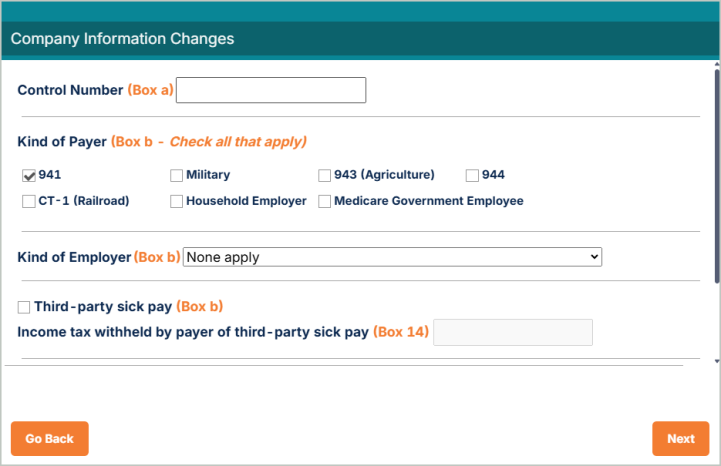
2 - Review Company Information
Verify your Company Information and make any edits or updates as needed.
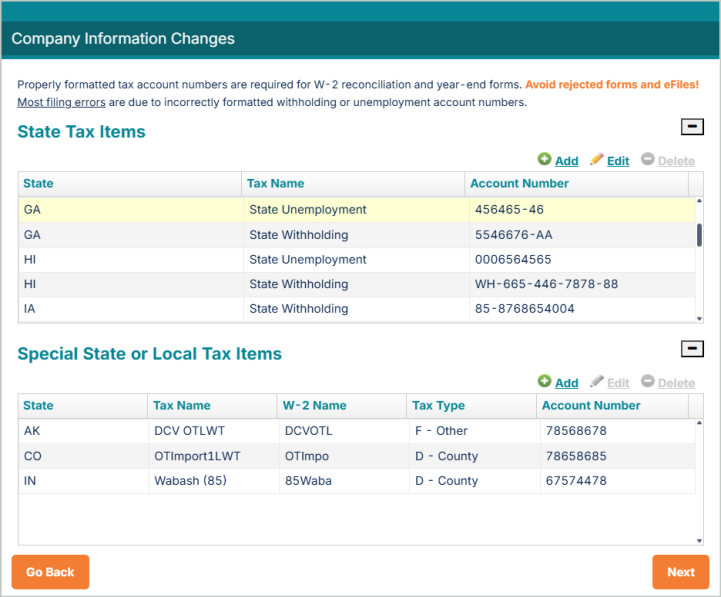
3 - Add / Edit State & Local Tax Items
Review, add, and edit information for your state & local tax items.
4 - Verify Employee Details
This screen asks questions that allow the system to effectively verify your data based on your filing needs. In most cases you should say NO to the questions unless you have employees who meet one of the listed conditions.

5 - Enter W-3 Information
Next you'll be prompted to enter the information that goes on your W-3. This information is also available to be edited once you're in the actual grid.
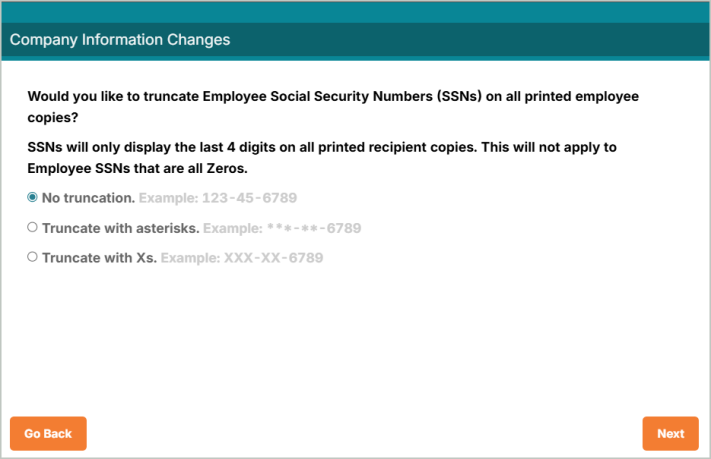
6 - Choose Whether to Truncate Employee SSNs
Select if you'd like to truncate Employee Social Security Numbers (SSNs) on printed Employee copies. This is optional.
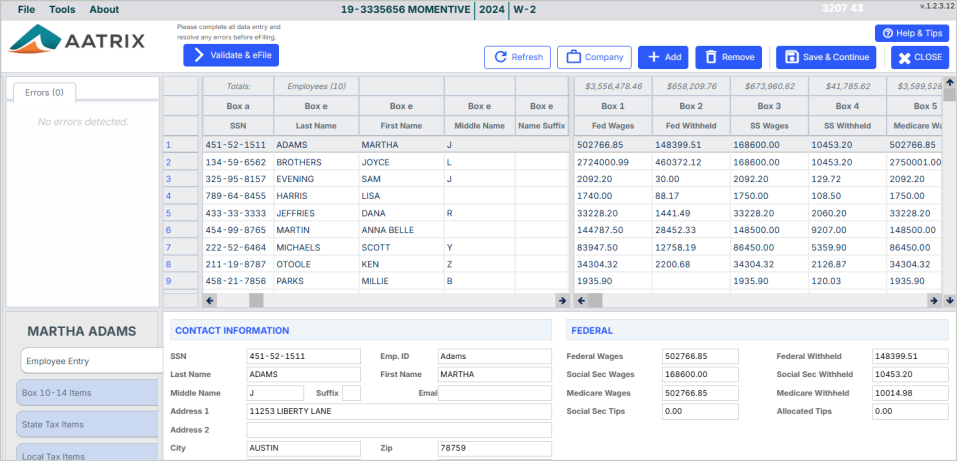
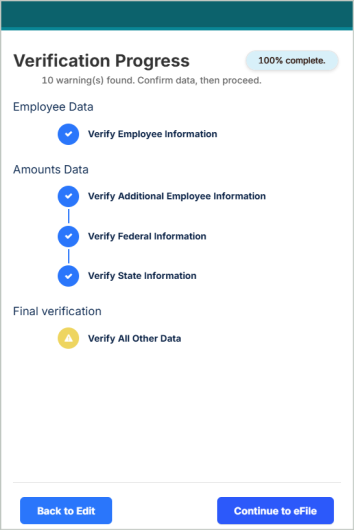
7 - Aatrix Preparer Grid - Review Data & Correct Errors
Use the Aatrix Preparer Grid to verify and correct all employee W-2 information.
Correct Errors
During the validation process, you'll probably receive warnings / error messages. If you receive an error message, you must correct the error before proceeding. Failure to do so will invalidate your W-2s.
There are two ways to correct an error:
-
Manually, in the Aatrix Preparer Grid - The disadvantage of this method is that changes made directly on the grid will not update MIP itself. Thus, if for any reason you need to exit Aatrix and create new forms, any changes you made directly into Aatrix will be lost.
-
Exiting Aatrix and making the corrections in MIP
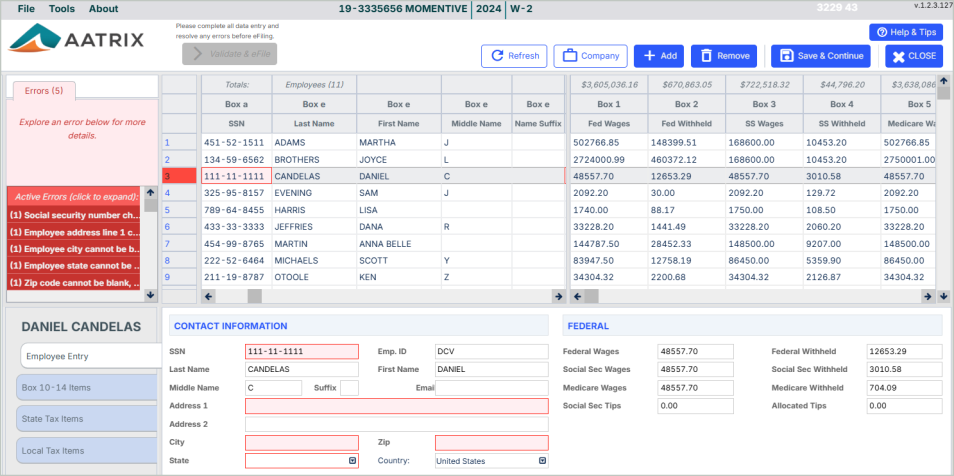
After you've made the necessary corrections, select Validate & eFile.
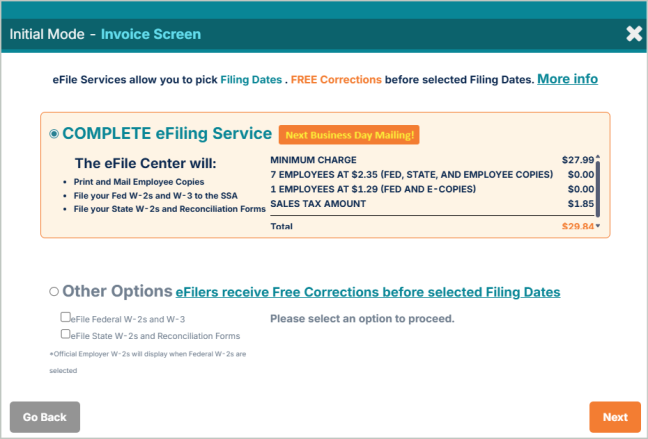
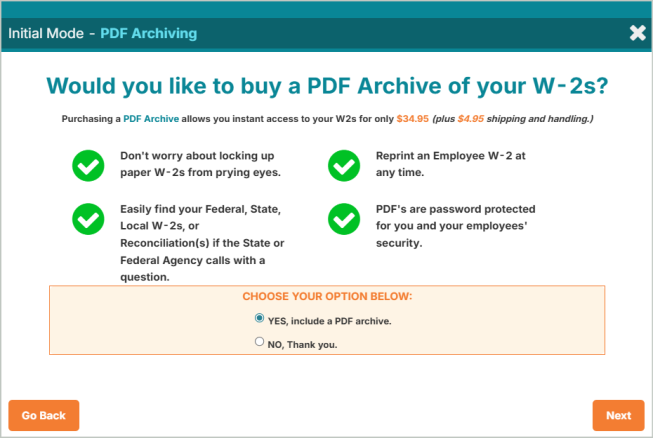
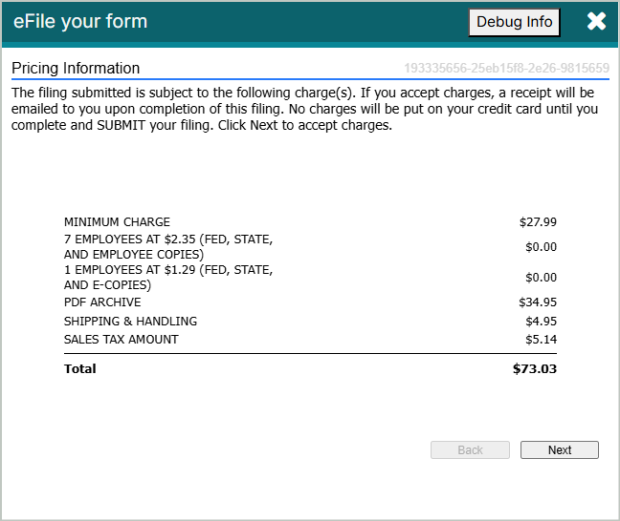
8 - Select Your Filing Options
After you've completed all the validations, you'll select your filing options. Pricing is based on the number of employee records to be processed. You also have the option to buy a PDF archive of your forms.
Remember that you can print a Records Copy of your forms when reviewing them in the next step.
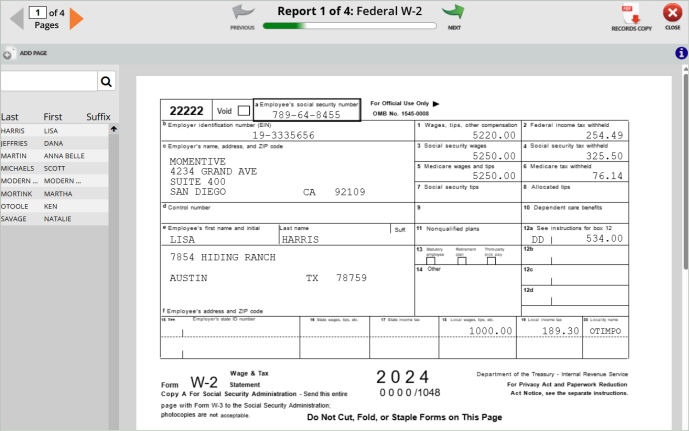
9 - Review & eFile
The Form Viewer is the final step before filing. This shows you which form you're viewing and the order of the form. Use the Previous, Next controls at to move between pages.
If you'd like to download a form for your records, select Records Copy at the top of the page.
After you've reviewed all pages, select Next to move onto the next page.
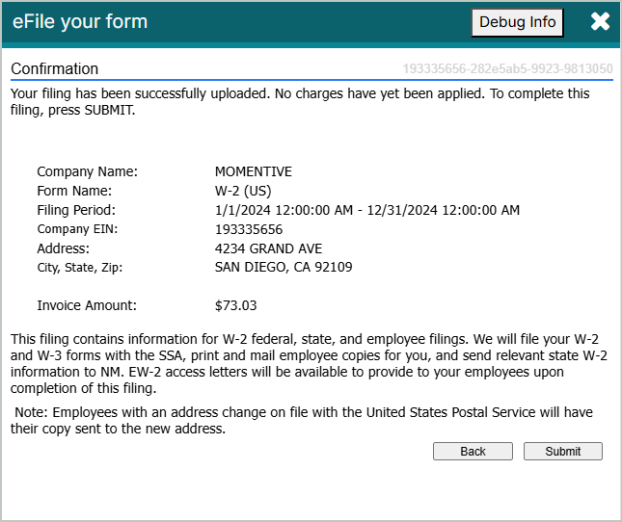
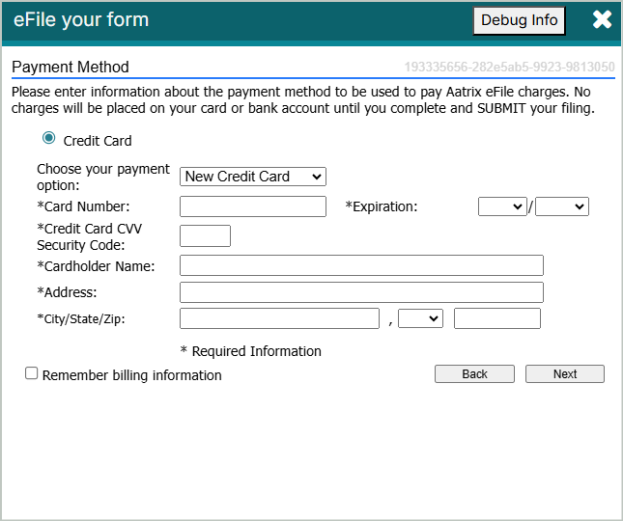
Verify all charges and enter your payment information for eFiling.
Select Submit to file your forms. Once submitted, you'll receive a confirmation message. You can view your confirmations through your Aatrix account by going to your Filings Page.